
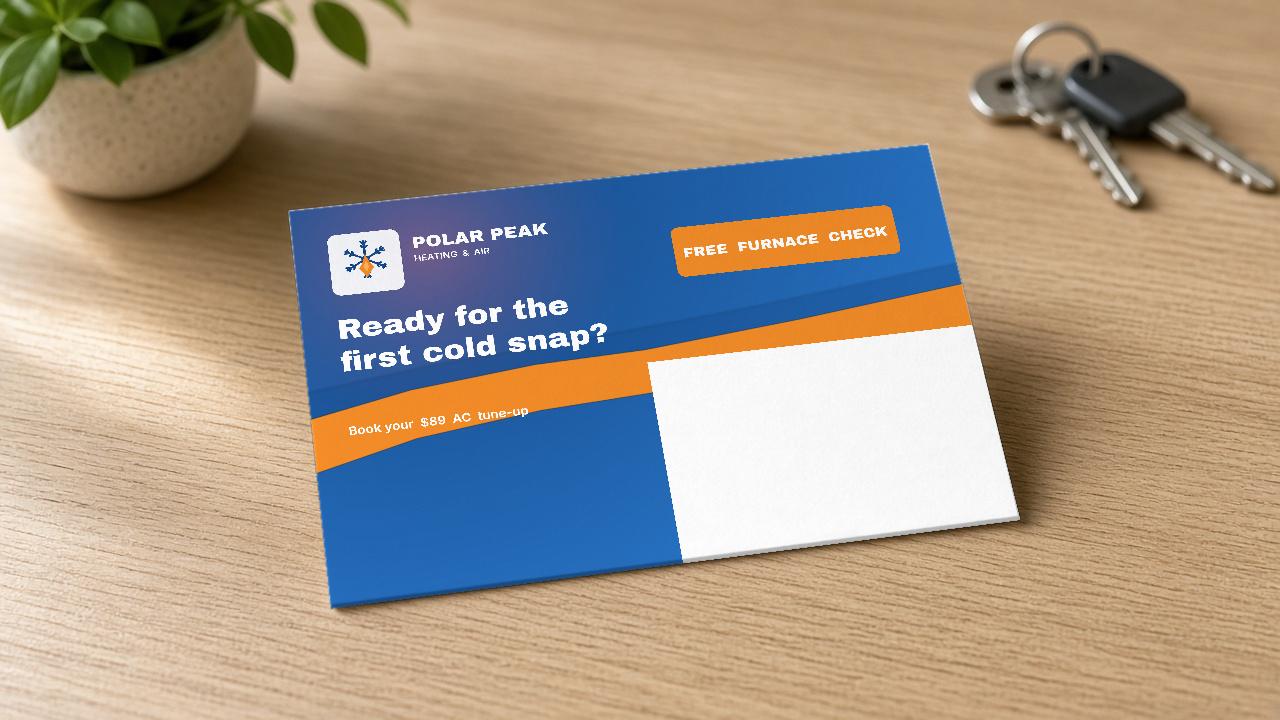
Searching for a 6x9 postcard template? Our 6x9 printed card is the same 9 x 6 in size, and this guide gives you its exact file numbers for Canva.
The 6x9 printed card is coming soon. You can design and export your file now with the steps below, and you'll be ready to upload it when the card is available.
The 6x9 printed card is a separate product from the Tangible Post handwritten package. It's a printed card that mails on its own: your artwork on the front, and your design plus the mailing details on the back. Our handwritten package stays exactly what it is. This guide covers only the 6x9 printed card.
The back of your 6x9 card carries both your design and the address, barcode and postage, so a few areas have fixed rules. Follow the steps below and use our 6x9 back guide overlay, and your design will be ready for the card check.
You'll learn how to set up the design in Canva, where text and photos can go, which area must stay empty, how to add personalized text like each recipient's first name, and how to export a sharp 300 DPI PDF.
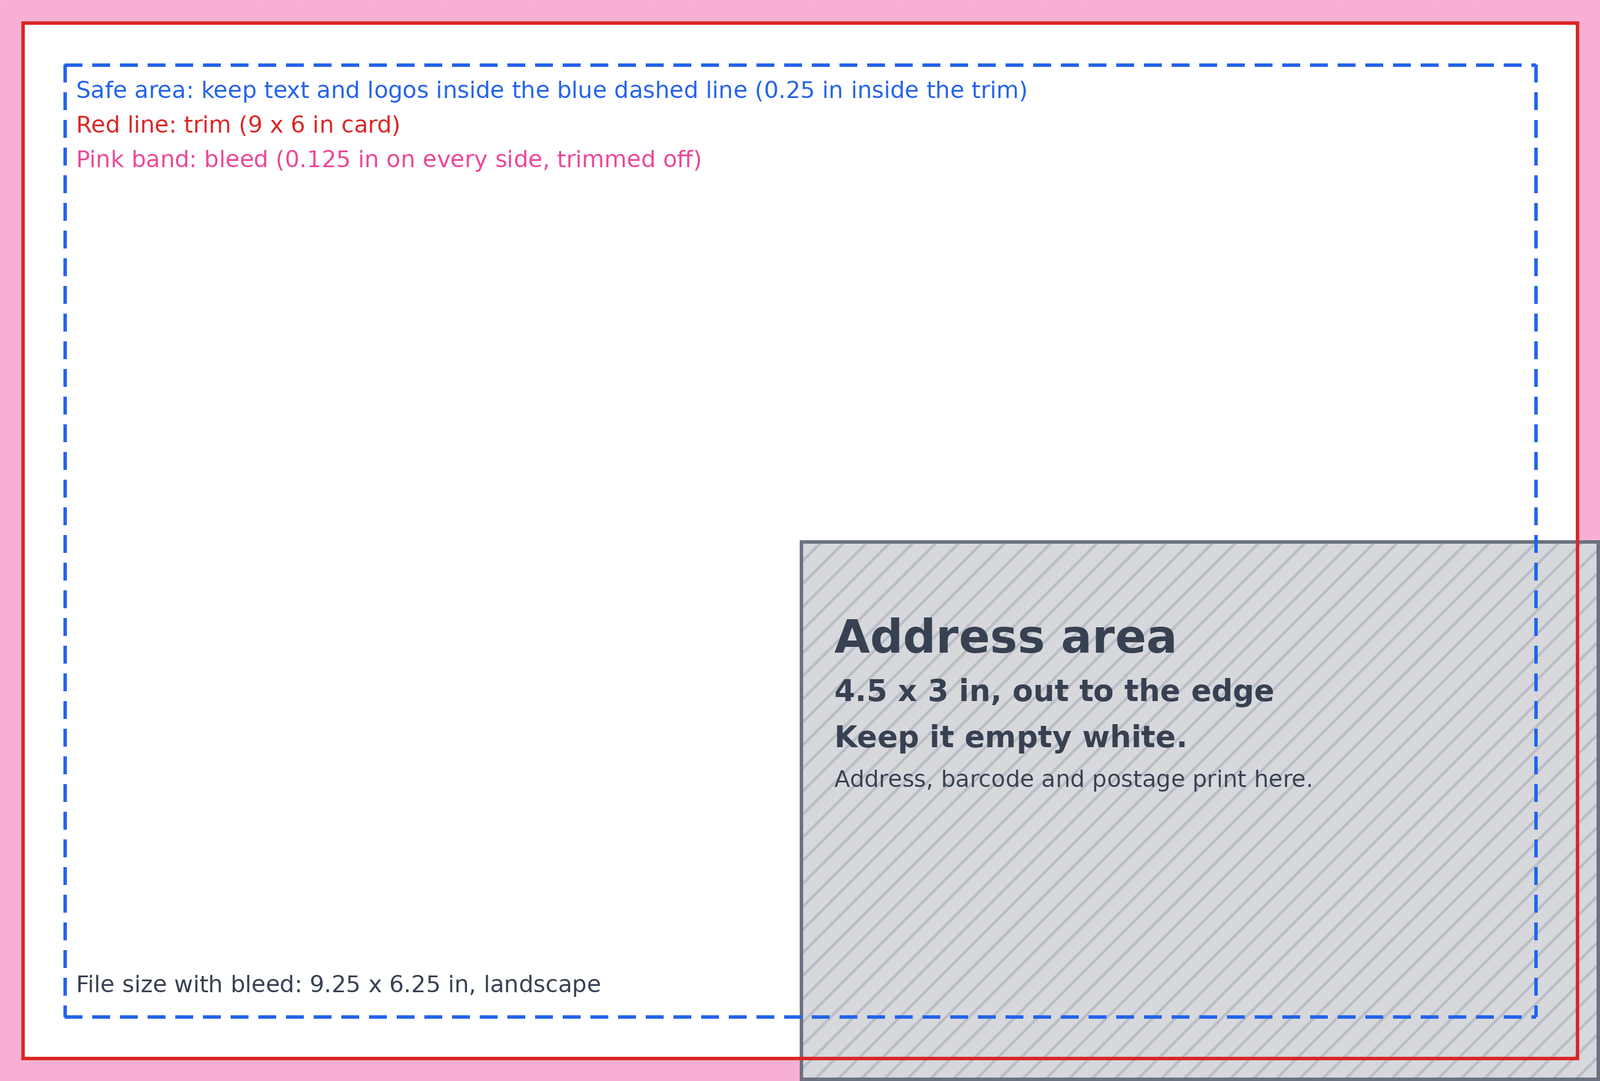
6x9 card size with bleed, safe area and address area
Your file is 9.25 x 6.25 in: the 9 x 6 in card plus a 0.125 in bleed on every side. The bottom-right corner stays empty for the address.
| Area | Size or position | Rule |
|---|---|---|
| File page size | 9.25 x 6.25 in, landscape | Includes the bleed on every side. A file without bleed is refused |
| Finished card (trim) | 9 x 6 in, landscape | Where the card is cut |
| Bleed | 0.125 in past the trim, on every side | Run background colors and photos all the way out; it's trimmed off |
| Safe area | 0.25 in inside the trim | Keep all text and logos inside it |
| Address area | Bottom-right 4.5 x 3 in of the card, out to the edge | Keep it empty white: the address, barcode and postage print here |
| Resolution | 300 DPI | 250 to 299 gets a note recommending 300, under 250 gets a warning, and under 200 is refused |
| Color | RGB | CMYK files aren't accepted |
The guide below shows every zone: the pink band is the bleed, the red line is the trim, the blue dashed line is the safe area, and the gray striped box is the address area.
Set up a 6x9 design in Canva with bleed
Create the design at the full file size, then lay the guide on top so you can see every zone while you work.
- In Canva, choose Create a design, then Custom size, and enter 9.25 x 6.25 in. Leave Show print bleed off, because this size already includes the bleed.
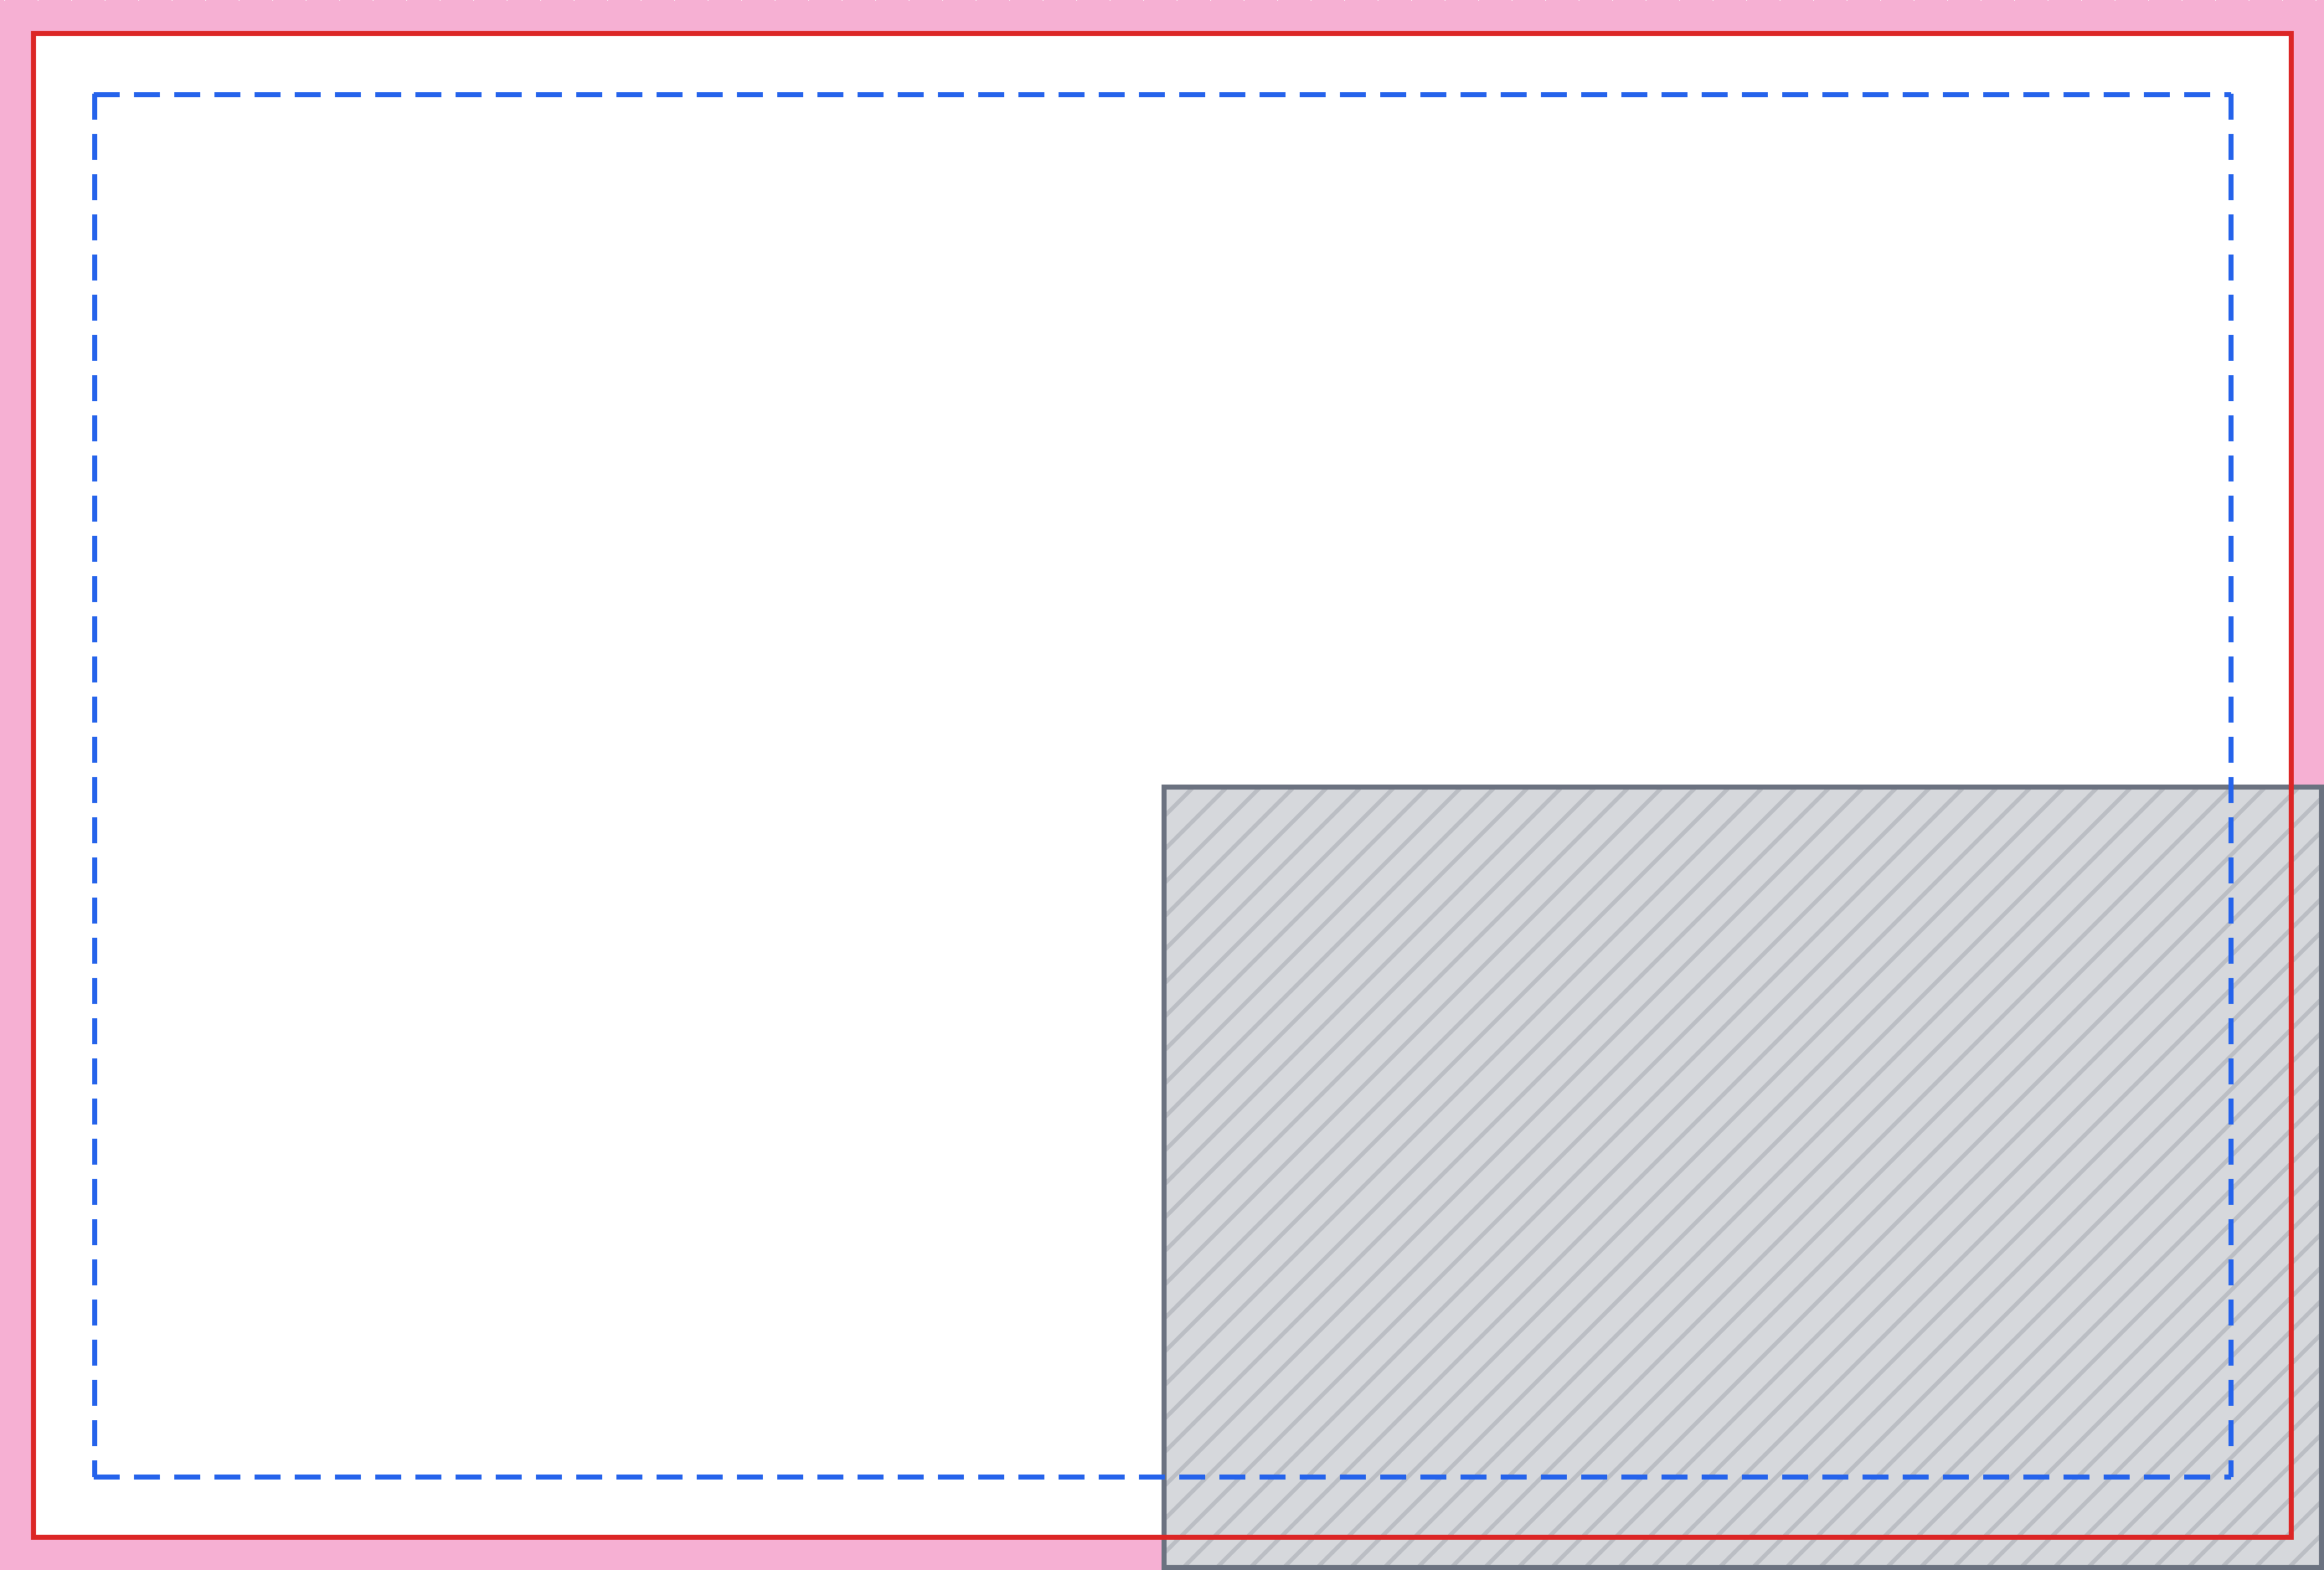
- Download the 6x9 back guide overlay (a see-through PNG) and upload it to Canva.
- Drag the guide onto your page and stretch it so it fills the page exactly, corner to corner.
- Keep the guide as the top layer and lock it (the padlock icon), so it doesn't move while you design.
- Design underneath it: run background colors and photos out to the page edge, keep text inside the blue dashed line, and leave the gray striped box empty white.
- When you're done, unlock the guide and delete it before you export.
Add personalized text with merge fields
Type each merge field as ordinary text in Canva, exactly as written below, and leave room for long names.
- Type merge fields as plain text, with the double curly braces, for example
Hi {{first_name}},. We replace each field with that recipient's details when the card is printed. - Use these fields:
{{first_name}},{{last_name}},{{company}},{{city}},{{coupon_code}}and{{expiration_date}}. The coupon code and expiration date come from the offer on your campaign. For a custom field from your customer data, type{{custom:field_name}}. All of these work in one-time campaigns. Automated flows fill in only{{first_name}},{{coupon_code}}and{{expiration_date}}, so stick to those three on a card you plan to use in a flow. - Type them exactly, with no spaces inside the braces and the same lowercase letters.
{{ first_name }}or{{First_name}}won't fill in. - Leave room for long names. "Bartholomew" is a lot longer than "Al". As a rule of thumb, keep about 30% spare width on any line with a merge field.
- Upload a PDF if you use merge fields. A PNG or JPG has no live text, so its merge fields can't be filled in.
Fonts for merge fields: any font works, but use a Google Font for your personalized text for the best results. DM Sans, Inter, Archivo, Archivo Black and Caveat are a few of the Google Fonts you'll find in Canva. Keep fonts embedded when you export. Words that are the same on every card print exactly as you designed them. You're responsible for having the right to use any font in your design.
Use photos that hold up at 300 DPI
Export a print PDF and use photos with enough pixels: the export sets 300 DPI, but it can't add detail a small photo never had.
Text, shapes and icons you add in Canva stay sharp at print size. Photos don't. To check a photo, multiply the inches it fills on the card by 300.
| The photo fills | It needs at least |
|---|---|
| The whole back, edge to edge (9.25 x 6.25 in) | 2775 x 1875 px |
| The left half, out to the edge (about 4.6 x 6.25 in) | 1388 x 1875 px |
| A 3 x 2 in photo | 900 x 600 px |
| A 1.5 in wide logo | 450 px wide |
To check a photo's size before you upload it: on a Mac, select the file and choose Get Info, then More Info, then Dimensions. On Windows, right-click the file and choose Properties, then Details.
Stock photos from Canva are usually large enough, but check any photo you upload yourself. Watch for images saved from websites, logos copied from email signatures, screenshots, and anything you've stretched a lot.
Keep the file small, too: keep each side under about 700 KB (use JPG photos, not large PNGs).
Export a print-ready PDF from Canva: crop marks, Flatten PDF and RGB
Download a PDF with the Print preset, with crop marks and bleed off, Flatten PDF off and the RGB color profile.
- Unlock and delete the guide layer.
- Choose Share, then Download.
- Set File type to PDF.
- Under Presets, choose Print. Older versions of Canva call this file type PDF Print. Canva describes it as for printing at 300 dpi. Don't use PDF Standard, which is a lower resolution (96 dpi).
- Open Advanced settings and set these:
- Crop marks and bleed: off. Your page size already includes the bleed.
- Flatten PDF: off. Flattening merges your whole design into a single image, so your merge fields can no longer be filled in with each recipient's details.
- Color profile: RGB. If your Canva plan offers CMYK, don't choose it: CMYK files aren't accepted.
- Select Download.
Upload your file and run the card check
When the 6x9 printed card is available, you'll upload your PDF as the back of a 6x9 card in Tangible Post, and the card check will tell you right away whether it's ready to print.
| The card check looks at | What passes |
|---|---|
| Page size | 9.25 x 6.25 in, landscape, with bleed |
| Photo resolution | 300 DPI. 250 to 299 gets a note, under 250 gets a warning, and under 200 is refused |
| Color | RGB. CMYK is refused |
| Text near the edge | Text inside the safe area (0.25 in inside the trim). Closer gets a warning |
| The address area | Nothing in the bottom-right 4.5 x 3 in box |
| Merge fields | Fields typed as live text and spelled as a field we know |
Checklist and common fixes
Run through this list before you export, and use the table if the card check flags something.
- [ ] Design is 9.25 x 6.25 in, landscape
- [ ] Background runs to the outer edge
- [ ] All text sits inside the blue dashed line
- [ ] The bottom-right box is empty white
- [ ] Merge fields are typed as text, in a Google Font if you can, with room for long names.
- [ ] Photos have enough pixels for their size
- [ ] Each side is under about 700 KB
- [ ] The guide layer is deleted
- [ ] Exported as PDF with the Print preset: crop marks and bleed off, Flatten PDF off, RGB
| If the card check says | Try this |
|---|---|
| A photo is low resolution | Replace it with a bigger version, or make it smaller on the card |
| Text is too close to the edge | Move it inside the blue dashed line |
| Something is in the address area | Move or delete anything in the bottom-right box, including background images and outlines |
| The color is CMYK | Download again with the RGB color profile |
| A merge field isn't spelled as a field we know | Retype it exactly, for example {{first_name}}, with no spaces inside the braces |
| No text or no merge fields were found | Download again as a PDF with Flatten PDF off, and check the fields are typed as text |
| The page size is wrong | Check the design is 9.25 x 6.25 in, landscape, and crop marks and bleed are off |
Once your card passes, plan how you'll measure what the mailing returns before it goes out.
FAQ
What size is a 6x9 card with bleed?
9.25 x 6.25 in: the 9 x 6 in card plus 0.125 in of bleed on every side.
How do I add bleed in Canva for a 6x9 card?
Create a custom size of 9.25 x 6.25 in. The bleed is already in that size, so leave Show print bleed and Crop marks and bleed off.
Does Canva export at 300 DPI?
Yes. The Print preset (PDF Print in older versions) exports at 300 dpi; PDF Standard is 96 dpi. Photos still need enough pixels for their size.
Should I use CMYK in Canva?
No. Export in RGB. CMYK is a paid Canva option, and our card check doesn't accept CMYK files.
Should I flatten my PDF in Canva?
No, if your card has merge fields. Flattening turns the text into an image, so the fields can't be filled.
Is this the same as a 6x9 postcard template?
It's the same 9 x 6 in size. We call it a 6x9 printed card: your artwork on one side, and your design plus the mailing details on the back. Use the numbers on this page rather than a generic postcard template, because the address area and safe area are specific to our card.